Home phone 602-999-3715/Mini-max with Hirth 2704 Ace
Posts: 755
Time Online: 40 days 13 hours 26 minutes
Bruce, I built mine 20 years ago and after seeing your beautiful work it makes me want to build another one. If you haven't figured it out yet, you will reach a point in the build where you really don't want to hide all that work with fabric. I'd be willing to bet that you find it hard to fall asleep at night because you just can't get that little sucker out of your head! Now that I think about it I'm awake at 2:am thinking about airplanes. Damn you Bruce! No more pictures, I need my rest! Dick
Thanks to both! And Dick you are of course right. I'm a Max saddo - it's what I think of falling asleep; when I wake in the morning, planning my day, and when I wake during the night I go back to sleep working out details.
My wife thinks I'm obsessive, but hey, it's cheaper than a mistress. . .
Hello Bruce, I see in your older fuselage and recent pictures you have additional corner blocking and gussets around the not vertical Sta 2 and the seat diagonal. Do you have any closer pictures of them. I also am going to add the additional cabin diagonal. Figure it can't hurt.
I don't know about being cheaper than a mistress. Not that I have any experience, but those I know who do are always broke from spending on one or the other and worried about how to divide their time between the two. Kinda sounds familiar.
I see in your older fuselage and recent pictures you have additional corner blocking and gussets around the not vertical Sta 2 and the seat diagonal. Do you have any closer pictures of them.
Hi Alex
Have you looked at post 32 on page 2 of this thread? I think I put all the pix I had of the corner fillets/gussets in that post.
Unless I'm misunderstanding the area you're asking about?
Glad you approve of the build - how did you know I'd finished with my mistress?
I'm going to paint it white for starters, then think about what (if any) other additions to make. I'm not the dog's danglies at spraying, so anything I do will have to be simple. Plus by then I'm going to want to fly it, rather than spend even more time on my marathon build.
The postsIamlooking aware 27,28 and 84.i am looking at the RS10 seat diagonal and the seat belt attach point and also you have a comer block on the forward side of Sta 2 RS8. In the later picture you have them covered with the gussets. I am also considering adding a small wood filler at the rest joint of the rS10 and sta 4. (This is at the "d" perspective of sht 1)
Thanks Bruce, that's exactly what I wanted. I will have to get the UK directives and study them. I am just trying to do half a good a job as you and Brian(bigbrixx1) I look ant your pictures and try to improve my best. Thanks, Alex
I have a cousin in Perth. Someday I will get there.
Sorry, I misunderstood the area you were talking about - got it now.
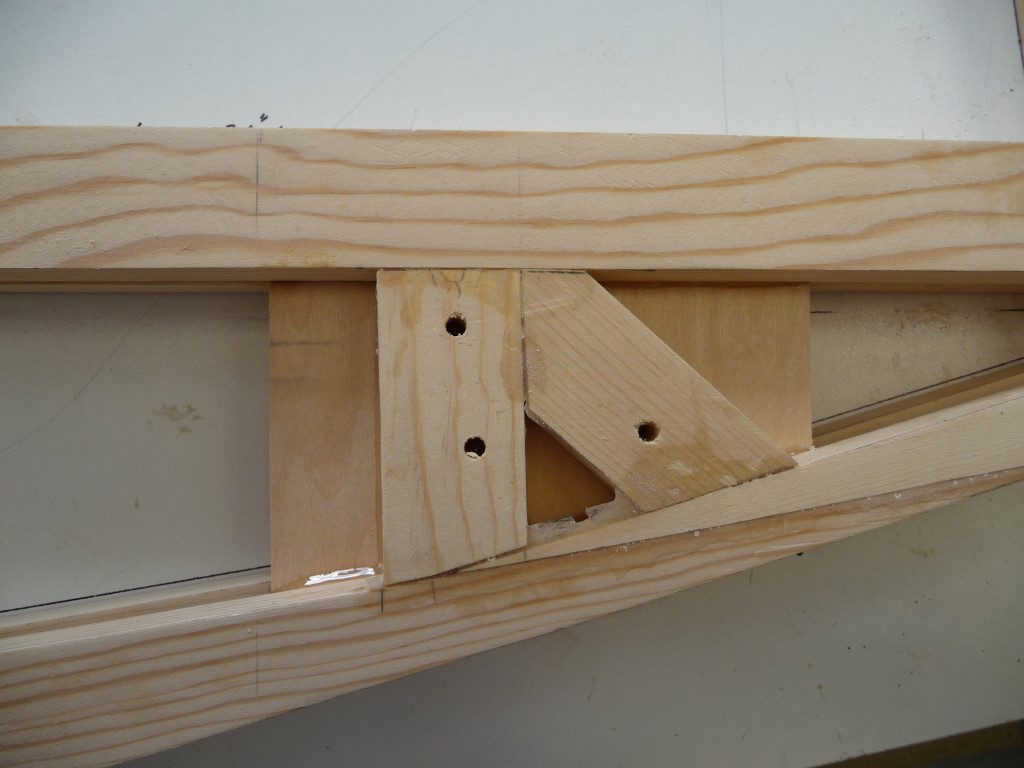
As regards the seat belt mounting point, there is a UK directive that a steel plate be used, which picks up 3 bolts, to distribute the loads.
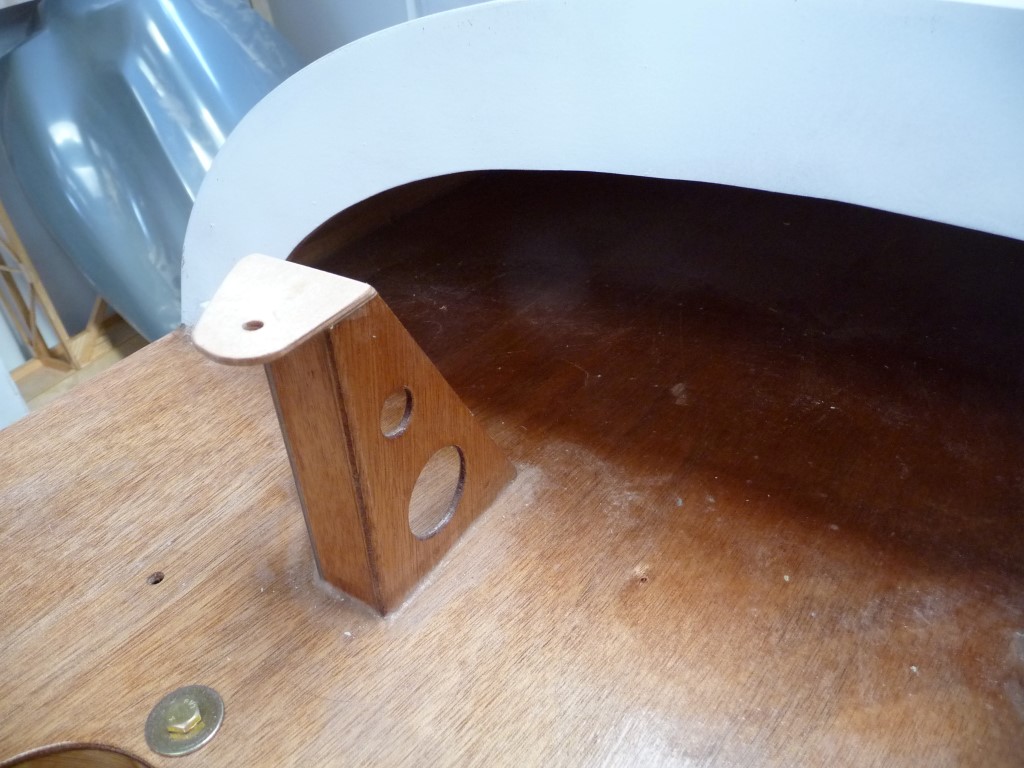
I reckon this is overkill, but I wanted more than a single bolt in wood. So I added the diagonal to which you refer. It is RS10, and is bonded to the base longeron & the seat diagonal/short upright. See the attached pic. In this pic you will see the three holes which would take a large steel plate to cover. Hence my decision to only pick up 2 bolts, these being the upper one on the original upright, & the one on the new diagonal piece.
I will use a short length of 1"x 1/8" steel to make a strap picking up both of these holes. I will also bush the holes to increase the bearing area in the wood. The top bolt will have the seat belt fitting mounted to it.
The aim is to have this strap roughly in line with the direction of the seat belt, so as to align with both bolts. Not sure I got the angle right.
Regarding the small additional block on the forward face of station 2, I felt a bit of additional help to spread the landing loads would be a good idea. At that time, I didn't have the drawings for the steel u/c installation. When I got them, I found they called for quite a large RS10 block where my smaller one was. So rather than remove my original block, I cut an RS10 to graft onto it, then gusseted over.
Hope this helps. I will be posting pix of my seatbelt installation when completed.
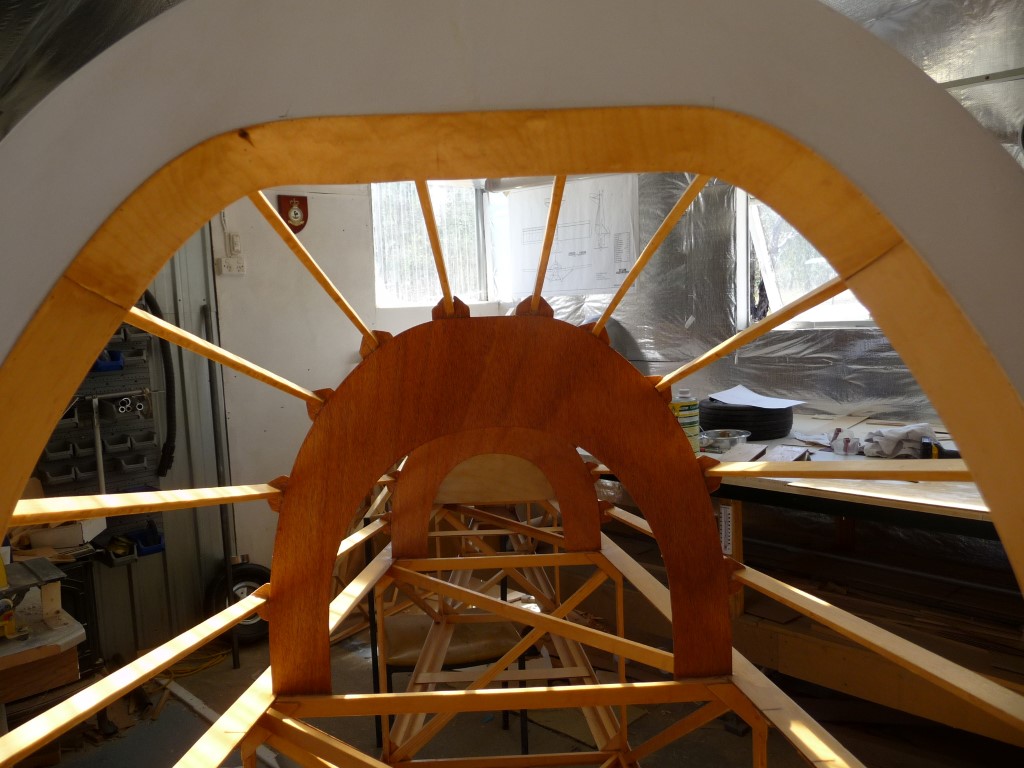
Just one more photo I forgot to add. It is showing that unlike the plans, I glued the cleats supporting the turtledeck stringers on the aft side of the fuselage frames.
This was purely for cosmetic reasons (it won't affect the strength or anything). Just I think it looks less cluttered when you look down the fuselage from the baggage bay.
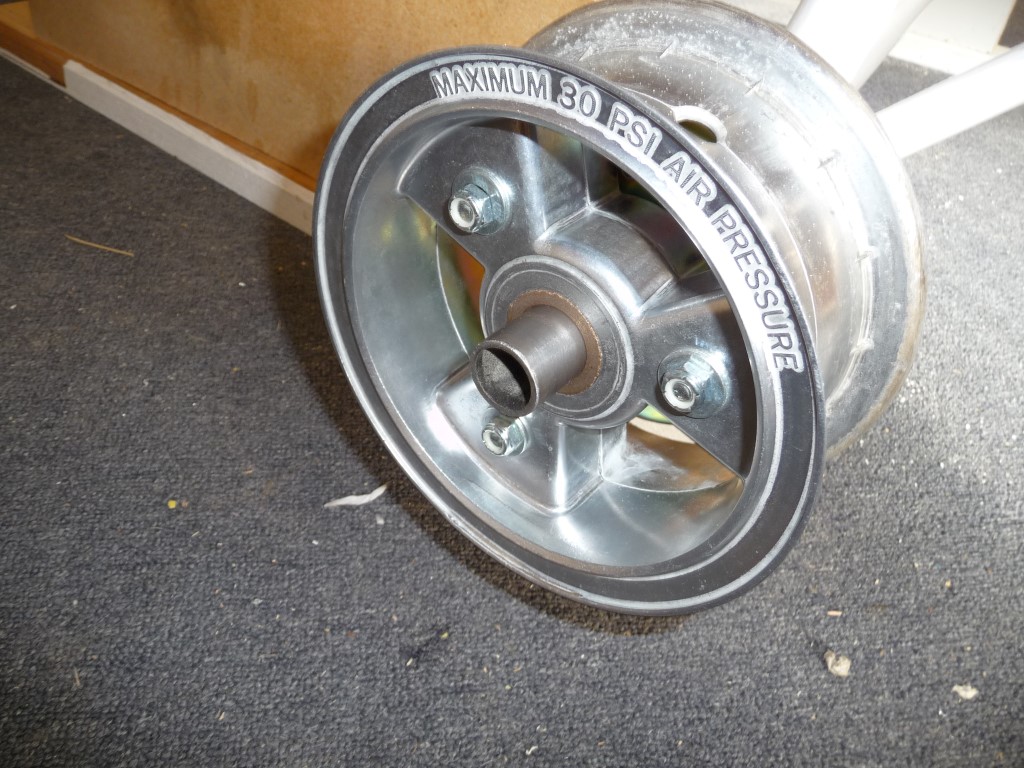
I went for the Eros kit partly because it included the ready-made steel gear, which I prefer. I mounted this on the fuselage ok, then trial assembled the wheels onto the stub axle.
Then I found I had a big problem. The gear had been supplied with the stub axle cut at least an inch too short, such that when the wheel was in place, there was no axle left protruding to attach the wing pickup to.
I contacted Dave Cooper on this problem. His solution was to cut back the outer bearing to clear the necessary axle length.
However, since the bearing is under an inch long, it worked out that with the wheel assembled in its correct position, with the large washers fitted each side, and the inner spacer machined down to give minimum clearance for the drum brake backplate bolts, the bearing would have to be reduced to 7/16" width.
I was not happy with this solution. It seems to me that such a narrow bearing would wear much more quickly than the full width version. And more importantly, in wearing it is possible it would reduce the wall thickness of the axle - which of course supports the major wing loads.
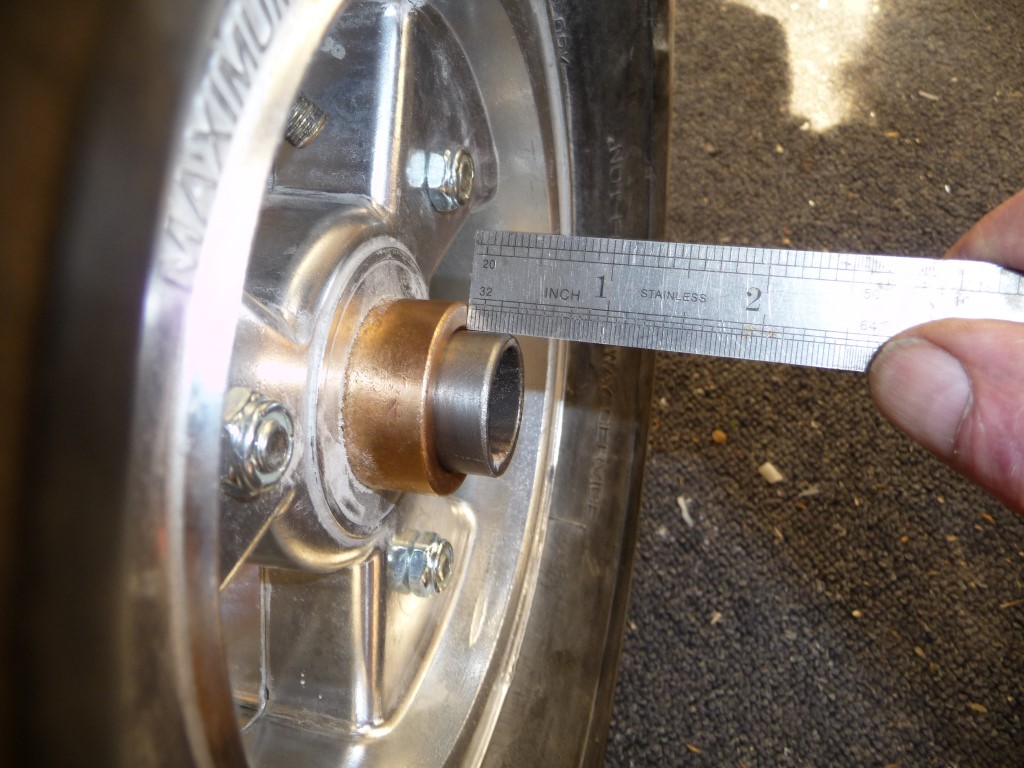
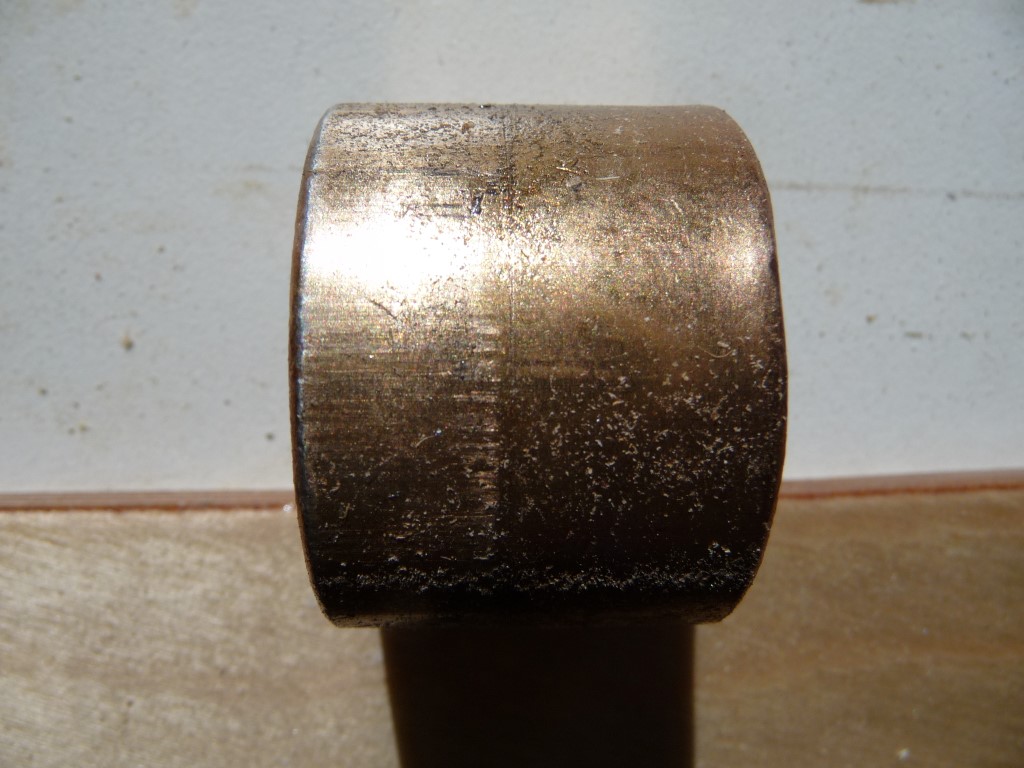
So in the absence of a new set of steel legs, I decided to machine the Azusa hub deeper to recess the bearing as far as possible. I don't have a lathe in my shop, but I was lucky enough to find a good ole boy in my local town who works as an agricultural engineer. I got chatting to him, & he very kindly let me use his enormous, solid, ancient lathe for me to do the job.
So I bored the outer hubs to the same diameter, and left about 1/8" shoulder on the inside face for the bearing to sit against. This left about 3'16" of bearing protruding from the outer hub face. I machined this off, leaving the bearing face just proud of the hub.
This way, I still have most of the original bearing bush length, and I have 0.91" of axle sticking out on which to fix the wing pickup. This means I'm going finish up with 1.82 dia edge land for the wing pickup 1/4" bolt, which whilst is not as much as I'd like I hope will be adequate. If not, guess I'll find out the hard way. . .
So if you have steel gear not yet fitted, measure the stub axle protrusion. Mine was 4.5" (from memory), but I believe it should be 5.5".
I made the drawings for this before I got the kit, but I reckon to do some of the key parts in plywood as a trial installation to check my geometry, travel, clearance, etc.
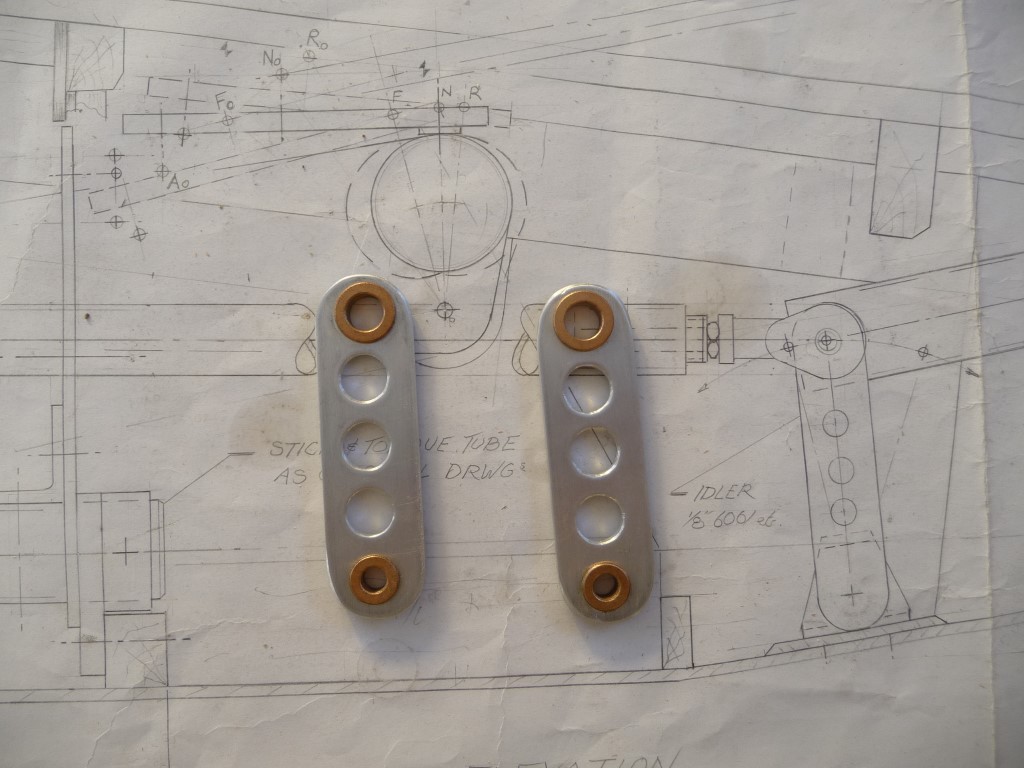
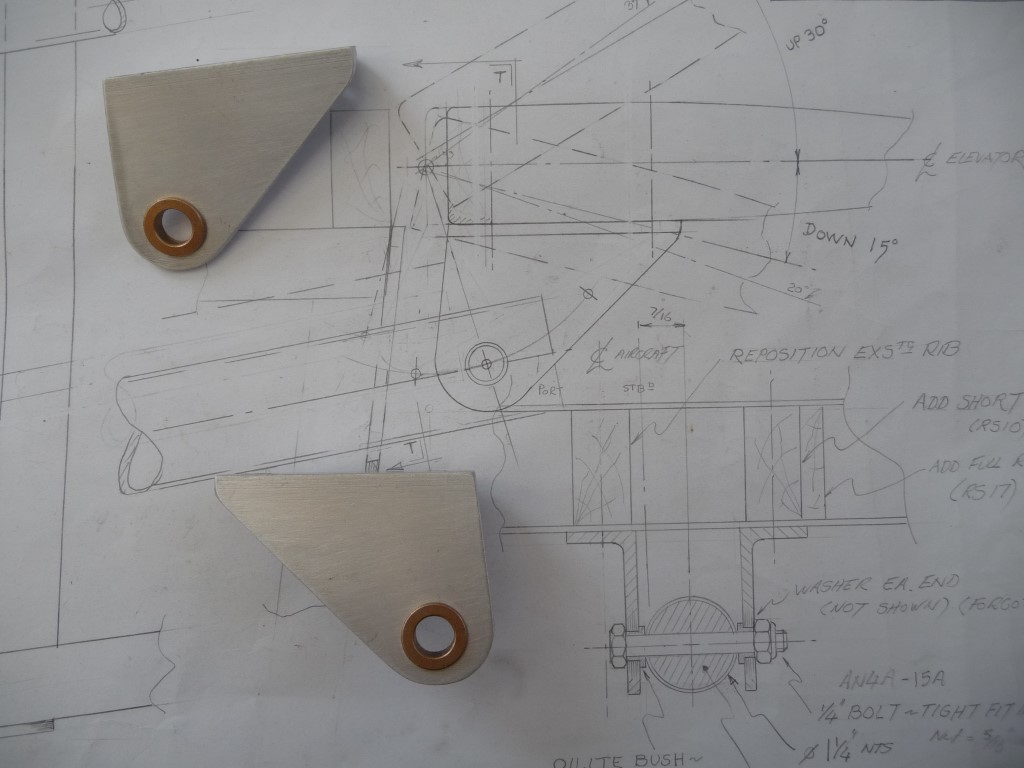
But here's the first parts. They are the idler that lives under the seat for the elevator pushrod, and the double elevator horn. Just in case anyone has noticed, the section view of the elevator horns has been revised, so doesn't reflect the 'production' version.
Nice work as always Bruce! Although I am going with the teleflex cables.....UK style with double elevator cables. I am intrigued by your setup. Cannot wait to see more of it! Brian
I see it is 4 months since I last updated this thread. That may be a relief to some!
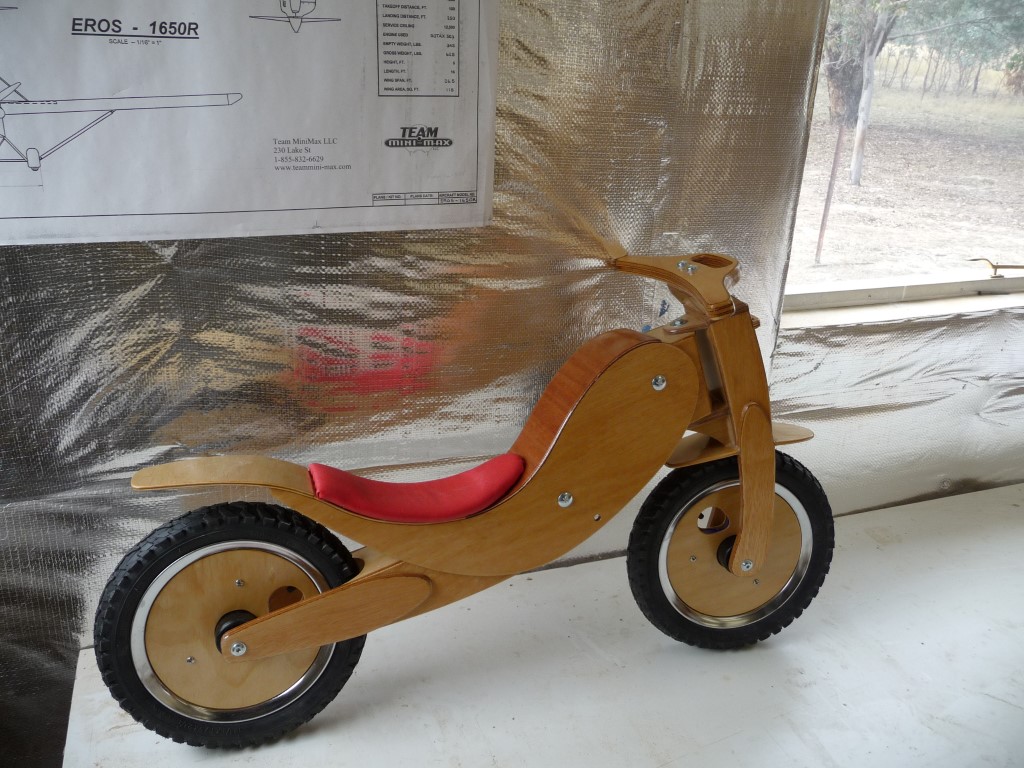
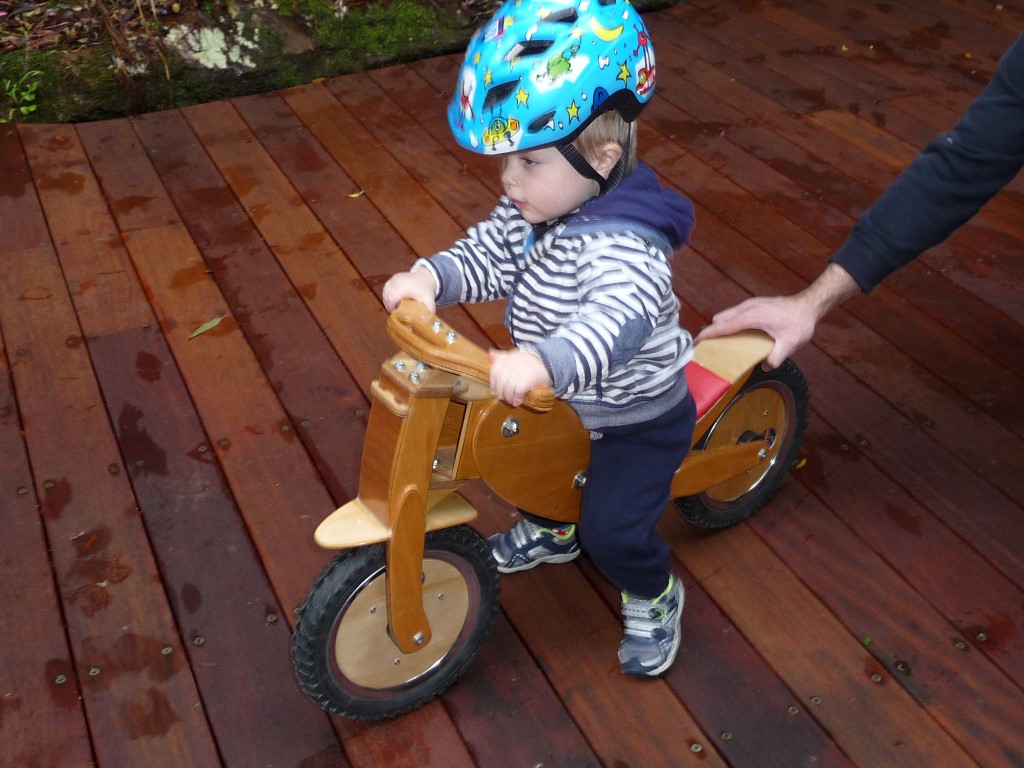
I have been taking a bit of time out from my build to do family stuff. Part of that time was spent on the project pictured, for my little grandson Tom, also pictured. (The bike was to keep him happy when mummy came home with a new little sister for him. . .).
The rest of the time I've been doing a myriad of small detail fiddly bits. Trim tab; baggage bay; wing root fairings; instrument panel, etc etc. Now I understand the expression "90% complete, 90% to go". So true!
I've also attached both wings, and fitted the struts.
The bulk of the time, though, has been spent researching which engine to buy. It seems the elderly Rotax 503 I have is not worth a rebuild, so I need an engine. I checked out several, and shortlisted the Rotax 582 and the Compact Radial Engines MZ 202.
Both make more power than I need, but great to have a few horses waiting in the wings (?) in case I need them. I was going to go with a 45 hp MZ 201 with belt drive, but that engine would need a lot of cutting & remaking of the Eros cowling. Plus despite moving the engine as far forward as possible, it is so light I would still need to add about 20lb ballast at the nose (though I've had to make some guestimates on my c.g. position with the 503 to work that out, & I may well be wrong).
In the end I've ordered a 60 hp MZ202, as it is a very similar size & envelope to a 503, needing few structural or cowling mods. And the Rotax is liquid cooled, so I'd have to faff with mounting a radiator, with even more cowling mods; the 582 is very heavy; and anyway Rotax have enough money without me giving them any more. I'd rather Leon had it
The MZ202 looks a great engine: it's fan cooled, big (626cc), lazy, high torque - and all those Mosquito helicopter pilots flying in front of them can't be wrong!
So I've also spent a fair bit of time on designing the propeller to go with it. I've finally decided on a 3 blade prop, 62" dia and 42" pitch. There is some scope to modify this in light of flying experience, but the scope is limited being a hand carved wooden prop. I've also been looking into sources & types of wood. I'll probably use Victorian Ash & Queensland Maple laminates. But all this for a future thread. . .
I'll post in more detail on some of these adventures, and I'll start with the instrument panel as Reto is thinking about his now.
Thanks Reto! But it wouldn't be fun to make them for a living. . .
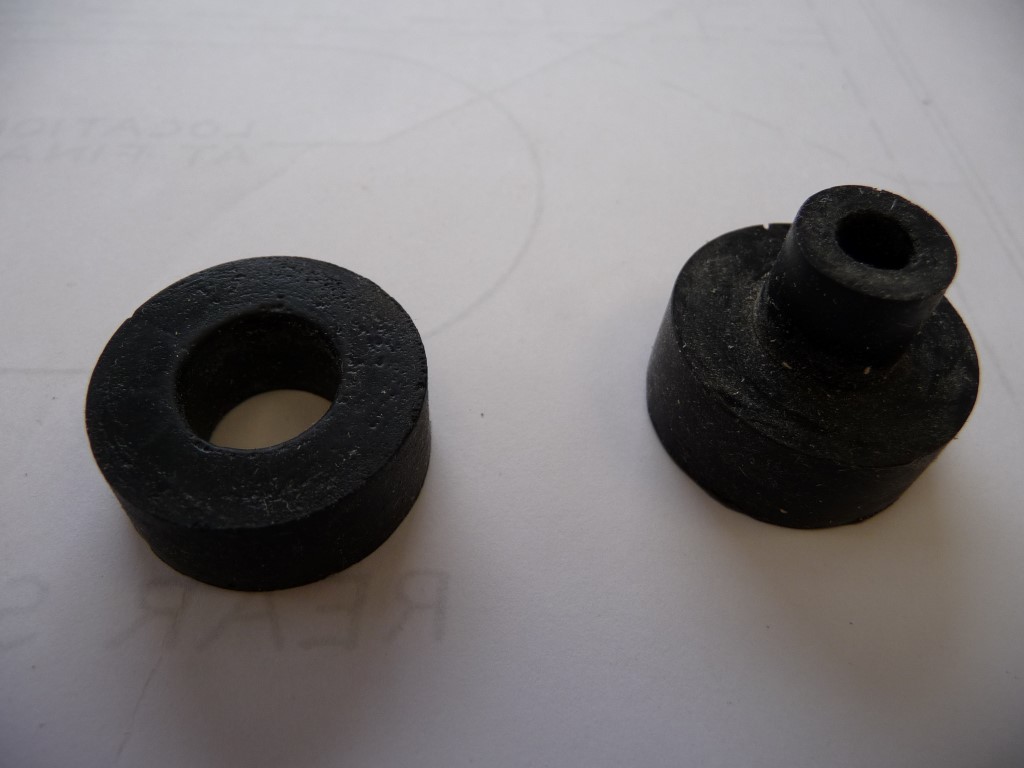
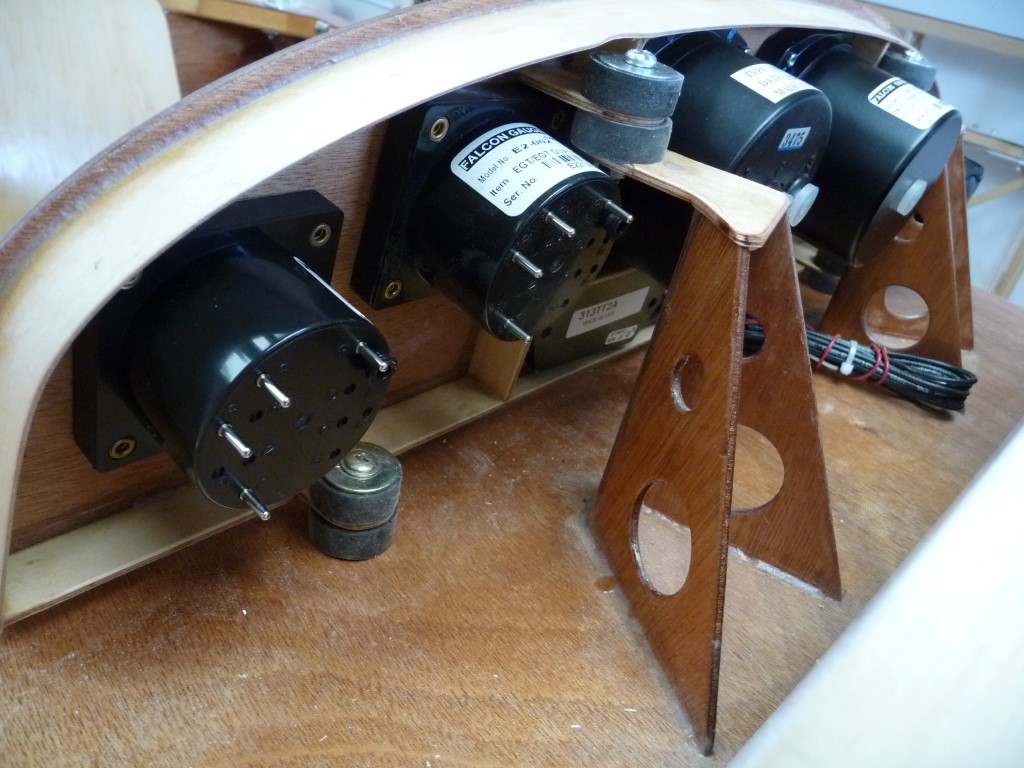
In reply to your question on instrument panel a/v mounts, I think it is worth making an effort to isolate all those expensive items from the high frequency vibration from our 2 stroke engines. And just maybe from some heavy landing shocks!
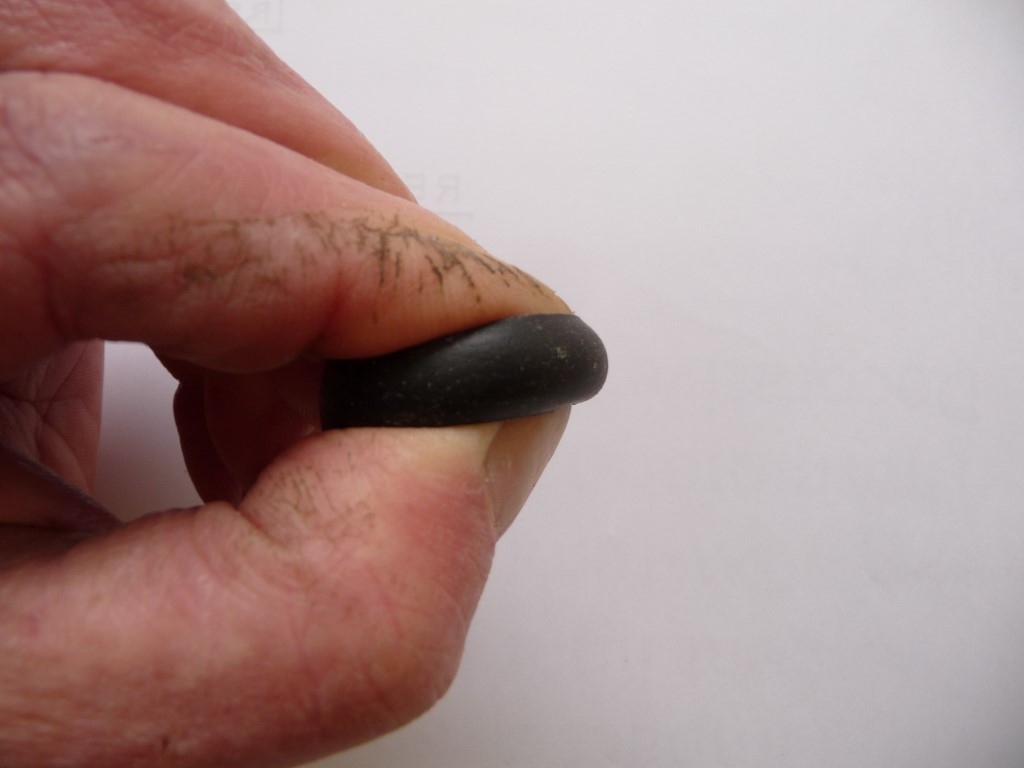
I used some very soft neoprene rubber mounts - I found them on ebay.
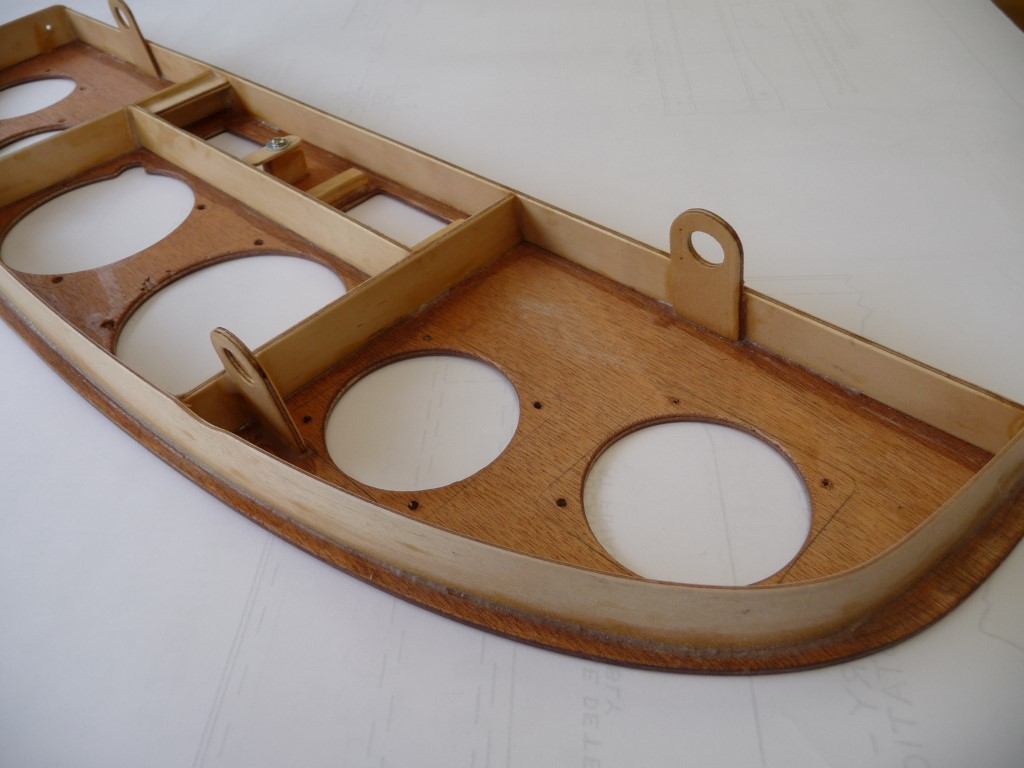
I made my panel from the offcut of the ply used in the cockpit so it would match in appearance. Except I used several coats of matt varnish to be anti dazzle in the sun.
Because the ply is thin, I used some spare 1.5mm ply to stiffen it up, but still save weight. I epoxied the mounting lugs onto the back of the panel.
Here's a pic of the partly completed panel. It's a bit tight getting everything in, but I have all the instruments I need in there.
I'm starting with the through mounting bolts only just deforming the rubber mounts. This gives minimum stiffness. If the panel moves around too much, I can just keep tightening the nuts to load up the mounts until I get the right compromise.
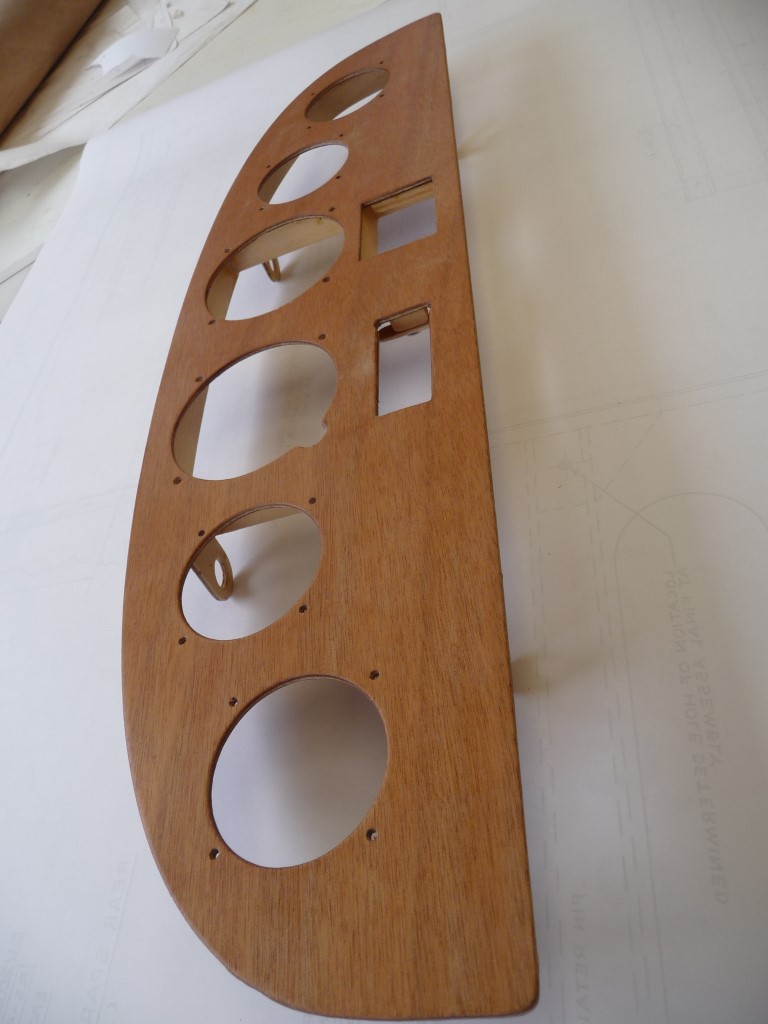
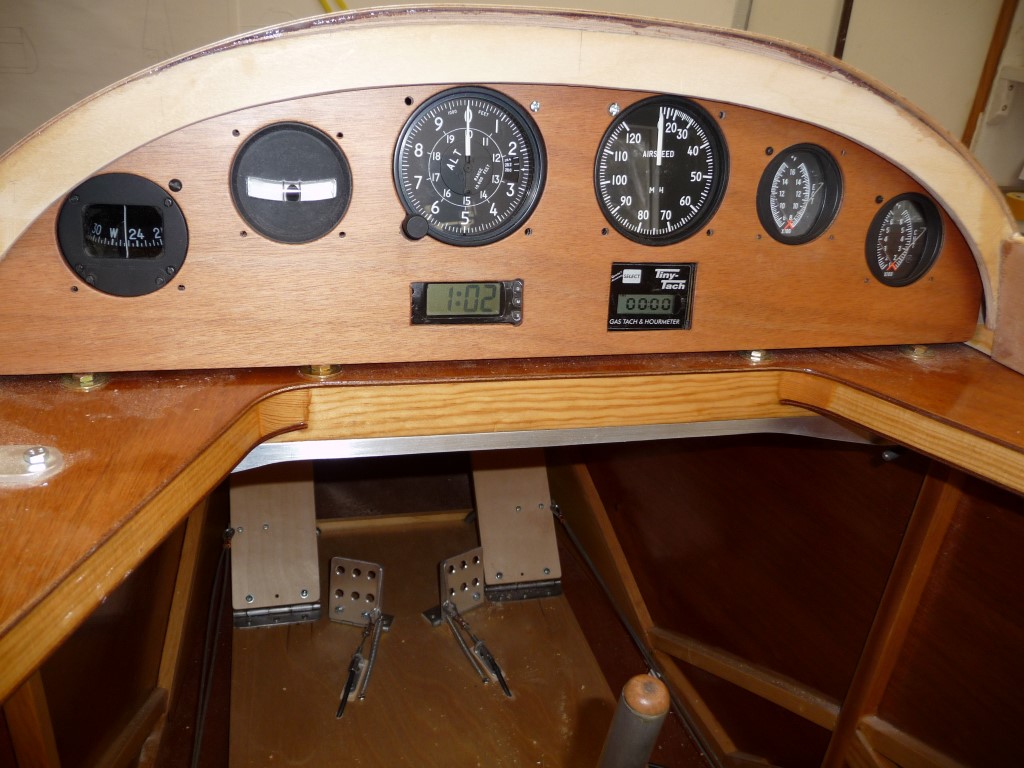
And finally the pilot's eye view. I have biased the instruments toward the top of the limited panel space to leave room to fit the electrical switches along the bottom.
I may use a pedestal compass mounted on the upper coaming, and use the spare hole for a small analogue tachometer, depending how I get on with the TinyTach.
Finding room for a radio & GPS is a bit tricky, but that's tomorrow's problem. Or more accurately, next year's! I also decided to leave out the VSI, as I'm not sure that instrument can really justify its piece of very limited real estate on the panel.
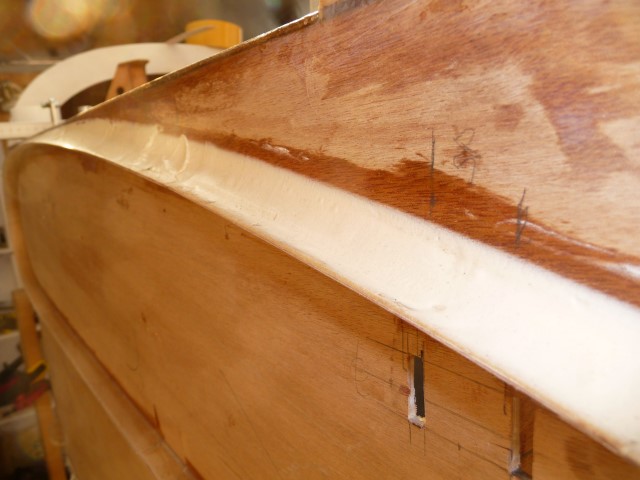
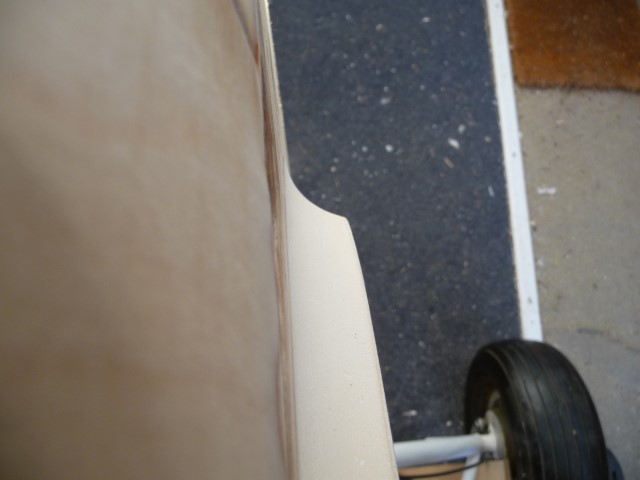
I am keen to reduce drag wherever possible on my plane, and one area that will help is fairing the wing roots. In particular, the gaps at the leading & trailing edges.
Ideally. I'd go for a 2" or 3" radius fillet to smooth the airflow, but this isn't really practical on the Max, so I've just made them as big as I can. Even then the starboard fillet covers some of the canopy hinge.
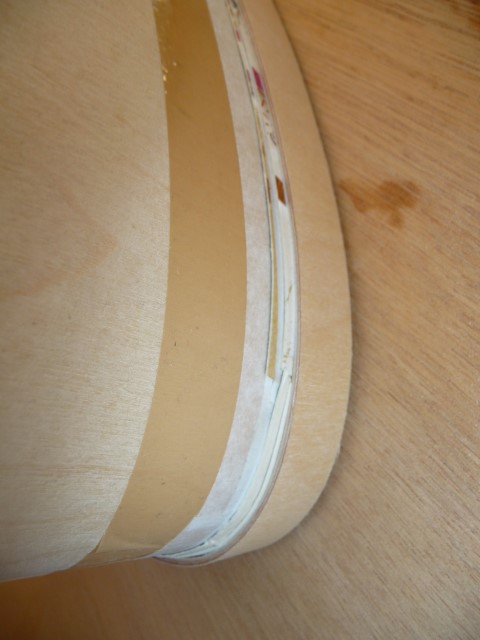
I started when the wings were attached. First I stuck a wide strip of brown shiny parcel tape all round the root so that any stray epoxy wouldn't permanently bond the wings to the fuselage . Then I cut some thin strips of card & stuck them in place with double sided tape. I butted them up to the fuse & used 2 layers. This is to give a little clearance between the wing & the fairing so as not to jam the wing during rigging/derigging.
I cut some spare 1.5mm birch ply about 3/4" wide so that the grain was crosswise to facilitate bending around the L/E. Again, I temporarily stuck this to the cardboard strips with light duty d/s tape, and bonded them to the fuse with WEST.
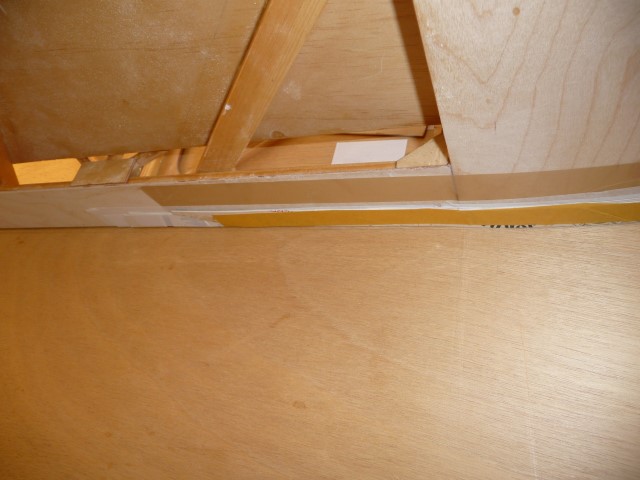
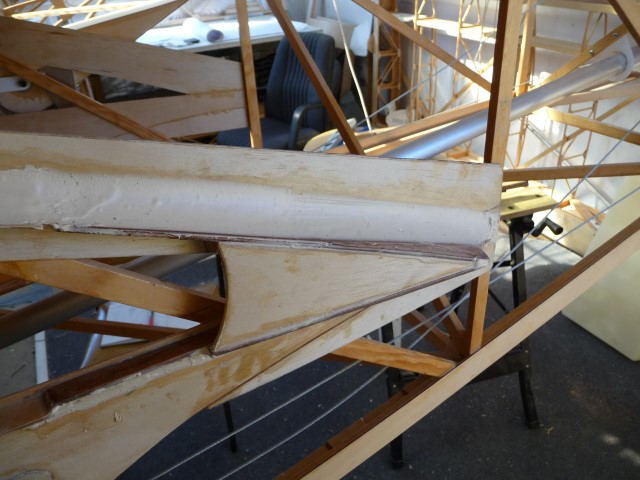
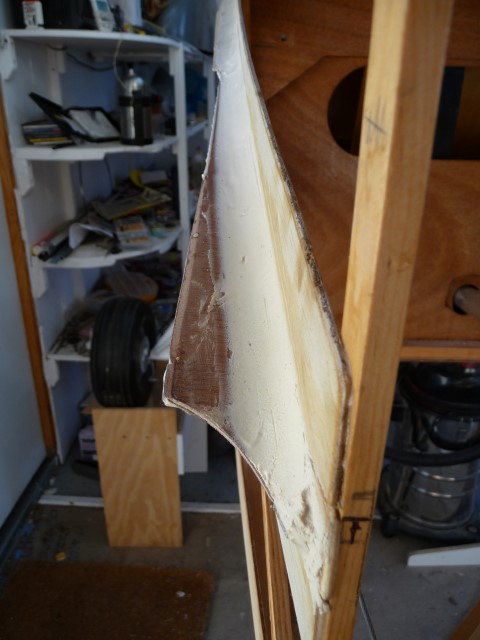
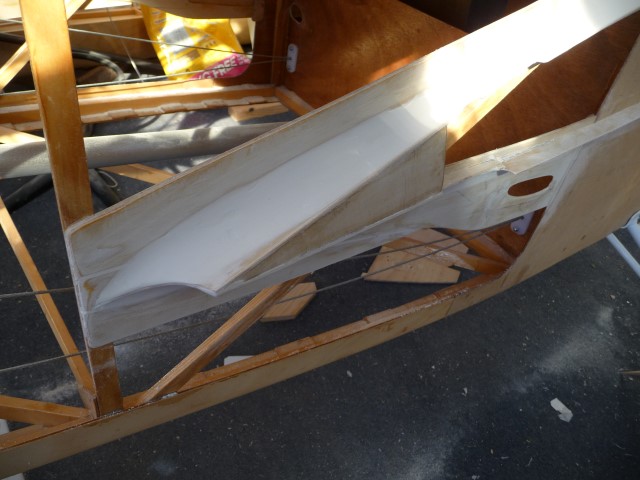
To fill in the giant gap at the trailing edge (where the fuse starts to curve away), I made fairings from 3mm poplar ply. I infilled the aft portion up to the aileron horn with a vertical web. I had to fit ply between the aft main bulkhead and the first frame to support these rear fairings. Also to give a land for the fabric around where my aileron pushrod exits the fuselage.
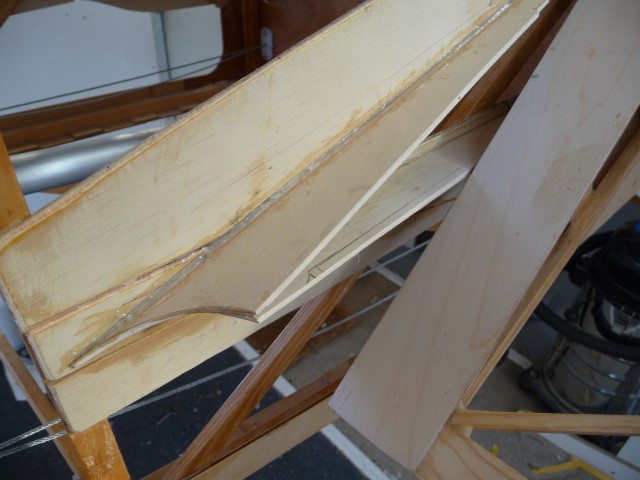
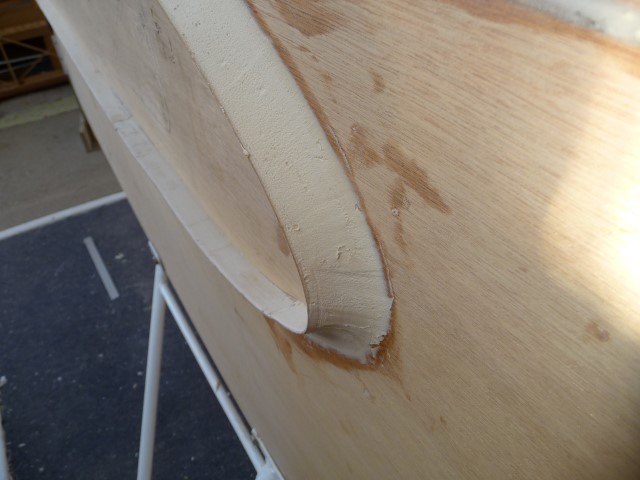
I made 2 formers from ply with a small & then final radius for shaping the fillets. I mixed up the WEST epoxy and worked in huge quantities of 410 Microlight low density filler.
You mix in sufficient to form a really really stiff paste, and then apply it over the area to be filled. Because the paste is almost dry, I wet both surfaces with neat epoxy as usual. I formed it with the smaller radius tool, & let it harden.
The next day I repeated the exercise with more WEST/410 filler, using the large radius tool.
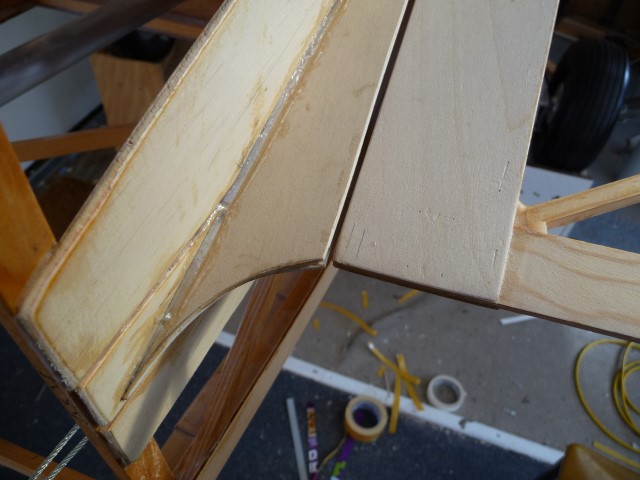
When that had hardened, I sanded the fillets to final shape & surface finish. Finally, I will seal the fillets with a coating of neat WEST. This makes them very hard & able to take whatever else is applied (paint; glue; fabric etc).
The WEST + 410 Microlight is an excellent filler. It is very low density, does not slump even when laid on thick, sands very easily to a great finish & is a hard surface after the last epoxy coat.


 Logged


 . Then I cut some thin strips of card & stuck them in place with double sided tape. I butted them up to the fuse & used 2 layers. This is to give a little clearance between the wing & the fairing so as not to jam the wing during rigging/derigging.